
Discover The Stories StoryTerrace Help Share.
Explore inspiring stories, expert tips, and the latest trends in personal biography creation on our blog.

Meet Alan and Marilyn Robbins: A Love Story
In honour of Valentine’s Day, we’re sharing one of our favourite love stories. Alan and Marilyn Robbins have been married for 51 years and told us all about how they first met.

Love and Dating Across the Centuries
Take a walk through history with StoryTerrace as we uncover the origins of dating and how it's progressed — we’ve come a long way!

Meet Alex and Barbara Lutkus: A Love Story
Alex and Barbara Lutkus have been happily married for 50 years. So what’s their secret?

Love stories: finding love at the parents without partners dance
StoryTerrace writer Celeste Hamilton Dennis on the experience of capturing Deborah Schroeder's life story, "My Boys, My Life". Plus, Celeste's video interview of what it's like to write for StoryTerrace.

6 Ways to Say I Love You (No Chocolate Required)
There’s got to be a better way to show you care than a box of chocolates! Try some of our favourite out-of-the-box ideas for a more meaningful gift.
.png)
AI Book Writing: How to Use AI for Writing a Book
Discover how to effectively use AI for book writing, leveraging its strengths and avoiding potential pitfalls. We’ll also share our insights into the best AI for writing books, which involves the human touch.
Browse all articles

One Million Stories
When my grandfather passed away, I realised that I had missed the chance to make a record of his life. It made me wonder - “Why don’t we capture the stories of the people we care about the most?” It’s this inspiration that made me give up my day job a few years ago and start StoryTerrace.
How my grandfather inspired me to start StoryTerrace
I loved my grandfather’s stories. The room filled with cigar smoke, I would listen to tale after tale as we played backgammon together. I loved to hear about his adventures with his football team, or the time he met my grandmother.
As a member of the Dutch resistance during World War II, he certainly had some tales to share. Tales full of laughter, wisdom, and life lessons that shaped who I became as I grew up.

Today over 500 writers work with Story Terrace worldwide
Sadly, when my grandfather passed away, I realized that the details of those old stories had faded. I had missed the chance to make a record of his life–to write down those stories as only he could tell them.
There were so many questions I wished I had asked. So much I could have learned about how he faced the challenges I was approaching as an adult. And I wished I could show him how important those boyhood stories truly were to me.
It made me wonder - “Why don’t we capture the stories of the people we care about the most?”
Today, this is a common problem. We have Facebook pages, and old home movies and photo albums. But these are often left scattered in boxes, on old computers and discarded and broken phones - and they often don’t tell the important stories.
"We want to create a world where everyone has the opportunity to capture their story in a meaningful way."
It’s this inspiration that made me give up my day job a few years ago and start StoryTerrace.
At this very moment, we are working with hundreds of people to capture the stories that matter to them, using our global network of over 500 ghostwriters.
Entrepreneurs, refugees, beloved parents and grandparents. Doctors, teachers, volunteers, and survivors. Family business owners. People like you and me, capturing their unique heritage and creating a legacy for future generations.
After helping so many people bring their stories to life, we know that everyone has a story to tell.
That's why we are a company with big ambitions. We are aiming to turn 1 million real-life stories into books in the next decade - because we want to create a world where everyone has the opportunity to capture their story in a meaningful way.
So, welcome to the StoryTerrace family. Whether you want to record your own story, or capture the memories of a loved one, I can’t wait to see what we create together.
I am Rutger Bruining, Founder and CEO of StoryTerrace, and I hope that together we can change the way that history is written.

Tips For finding and working with a ghostwriter
Everyone has a unique story to tell, but sometimes it’s hard to know how to tell it. A ghostwriter takes someone else’s thoughts or ideas and turns them into written words, usually staying anonymous on the final, published product. You can even use a ghostwriter to write your biography.
Everyone has a unique story to tell, but sometimes it’s hard to know how to tell it.
A ghostwriter takes someone else’s thoughts or ideas and turns them into written words, usually staying anonymous on the final, published product. There are ghostwriters for just about everything, including articles, technical manuals, and even memoirs.
Stories are the backbone of most family history. They make up much of the conversation around the kitchen table. They’re brought up at weddings, at births, and at funerals. We learn who we are by the lives of those who came before us. We identify ourselves as the Millers clan, the Jones clan, the Smith clan. Working with a ghostwriter can help you preserve this unique history for present and future generations.
Oftentimes, family stories are even more important than the physical objects that get passed down from generation to generation. When you hire a ghostwriter to tell your story, you’re able to pass down both. But, where to start?
How to Find a Ghostwriter
While the internet possesses a wealth of options, sometimes the sheer number can feel overwhelming. Just about anyone can claim the ability to tell someone else’s stories. In reality, ghostwriting requires a particular skill set even within writing itself. Just because someone is a good fiction writer doesn’t mean they would make a good ghostwriter. In fact, even a memoirist isn’t automatically able to tell others’ stories.
Perform a Focused Search
There are a few things you can do to narrow down your search options for working with a ghostwriter. Asking for recommendations from those you know is a great way to start. You can also search profiles on LinkedIn, or check out pages or groups on Facebook. It can also be beneficial to check out ghostwriting companies. These companies have a number of ghostwriters on hand who have passed screening and training, and they have successful books under their belt. Such companies also have a hand in the project from beginning to end, so you’re not left to micromanage or guess which step should come next.
Find a Ghostwriter Whose Style You Like
A good ghostwriter should be able to impersonate you while also possessing a personal writing style you admire. Ghostwriters can’t always say who their clients are, due to non-disclosure agreements. However, most can show you examples of their work in other forms. If you find a ghostwriter you like but can’t find an example of their voice, you can always ask for a paid sample on a particular topic.
Make a Personal Connection
One of the most important aspects of a quality collaboration is trust. You will no doubt be sharing very personal information when you hire a ghostwriter. For this reason, it is imperative that you are comfortable with him or her. Speaking in person, over the phone, or on Skype can help you determine your level of comfort. Using these methods for the interviews is also a good idea. StoryTerrace has ghostwriters who conduct interviews in the comfort of the customer’s home. Teresa Samuel says of working with her ghostwriter: "Sara really took the time to help me to find the structure in the story of my life.” Many times, some of the most important nuggets in a book come out of conversations that digressed from the main question, and these are more easily obtained in face-to-face interactions.
Collaborate on the Scope and Process
Before any work takes place, you and the ghostwriter should be clear on what type of book you want to write and how it will be written. You don’t need to know your exact themes, because the ghostwriter often comes to these on their own off the interview notes. But you will want to know your intended audience. Are you creating the book for your family? For marketing purposes? For yourself? Once this has been determined, make a plan for the next steps. Most ghostwriters will provide some combination of handing over a rough outline for approval, writing a first draft for approval, and then writing a third or final draft for completion.
Use an Editor and/or Designer
Working with a ghostwriter is just one of the steps to creating a finished project. Your book will also need to be looked over by an experienced editor. The format of the book, and the placement of pictures, etc., will be the job of a designer. Lastly, you need someone to print the book. These added necessities are another benefit of going with a ghostwriting company. Most companies, like Story Terrace, have staff on hand who each play their part in the final product. It is like buying in bulk instead of paying for each item individually.
Whether you want to tell your own story or help a family member tell theirs, there are individuals and organizations out there who can make this wish come to life. Imagine your children, grandchildren, nieces, or nephews having ready access to your life’s journey. The text and any pictures you include can be right there within the pages, ready to be opened at any and all times. Your voice will stay with those you love, and your stories will be told your way. As Peter Handke says, “If a nation loses its storytellers, it loses its childhood.”
If you’re ready to start working with a ghostwriter or just want more information, sign up for the Story Terrace newsletter or contact us for a free consultation.

4 Inspirational Reasons to Write Your Biography
There’s this idea that biographies only exist for celebrities, but that’s the furthest thing from the truth. If you’ve ever wondered whether or not your life story is worth telling, then think about this: in your own unique way, you’ve made a meaningful impact on the world around you and touched the lives of those in your orbit. It's worth to write your biography.
There’s this idea that biographies only exist for celebrities, heads of state, or the founders of Fortune 500 companies. But that’s the furthest thing from the truth.
If you’ve ever wondered whether your life story is worth telling, then think about this: in your own unique way, you’ve made a meaningful impact on the world around you and touched the lives of those in your orbit.
No matter how small we perceive our actions, their impact on others—and the future—is often much bigger than we can see or understand. Yes, your story is one worth telling. Writing your biography is a powerful experience with benefits that go beyond preserving memories for the next generation (although that’s definitely a compelling reason to put some ink to paper!).
But what exactly are those benefits? We talked to several people who chose to write their life story and found four compelling reasons to start writing yours today.
1. It allows you to leave a written legacy for future generations
Chuck often wished he had a recorded history of his family. After some thought, he decided to do something about it and opted to have his biography written. “I wish my mother and father had done it. I wish my grandfather had done it. We have lots of things we talk about doing. And we never do. And this was one of them.”
Putting your memoirs and life story into words leaves a legacy for generations to come. It becomes a sacred family heirloom that can be passed down for years, helping to strengthen the bond between family members through shared stories, meaningful anecdotes, and a narrative rich in details that might have otherwise been forgotten.
It’s also a way of preserving a moment in time, giving future family members a glimpse of what life was like during a particular era.
Chuck, who opted to have his biography ghostwritten, had this to say: “Obviously, one can write [a biography] themselves. But it’s a pretty big task. And you need help—well, at least I did. Seeing this little [Story Terrace] ad prompted me to get going on something that I had thought about. Whether it was a book or recording, I wanted to start as young as I could and remember the things from when I was a young boy right through the end of my life. Their writer Eric did a wonderful job of putting it all together. I think they did a really wonderful job. The quality, the cover, the pages—I’m very impressed with what it is.”
Much like Chuck, many of our customers note how much they enjoy the interview process with a professional writer and that the opportunity to reflect on their life path is a beautiful experience.
2. It helps you connect with your family and friends
The Pepper family wanted to commemorate their patriarch’s 80th birthday in a way that would help them feel closer to him while preserving a piece of family history. “Our oldest son Rick, his wife Patty and their son Rich were talking about my husband’s birthday coming up. And they wanted something special. Our grandson Rich said ‘maybe we can have a book written about Chichi and Pa’s life.’ They researched and found Story Terrace.”
Working on a biography as a family unit can reinforce memories and strengthen bonds—especially when multiple generations are involved. It can be a beautiful shared experience and a powerful way to pass down the family’s legacy from grandparent to grandchild. As the Pepper family recounts: “Things [came] up [during the process] that were very important but kind of got lost in the background. Putting, in many cases, smiles on our faces and laughter in the room.”
3. It gives you an opportunity to reconstruct the narrative of your life
One important benefit of biography writing is the ability to put a traditional story structure on the events of your life by giving them a beginning, middle, and end. These events may appear random and unconnected, but thinking about it from that perspective isn’t always beneficial. Psychology Today notes that “it helps to think about how the various events—even the bad ones—have been part of a journey toward the person you want to become. Writing it down or telling it to someone else can help you impose that organization on it, help you identify key events, and even help you just rehearse and remember the details in a way that helps you become the author of your own life.”
Writing a biography about yourself gives you a moment to reflect on your life, soaking in the nostalgia and reminiscing on the good times you’ve shared with family and friends.
4. It can be therapeutic
Turns out, writing about yourself is a wonderful form of self-care! Various scientific studies have documented the psychological benefits of journaling. Putting pen to paper serves as an effective form of therapy that can reduce stress, boost cognition, and increase creativity. In fact, a study conducted by social psychologist James W. Pennebaker at the University of Texas at Austin found that labeling emotions through writing helps make sense of them and produces a positive outcome.
As Psychology Today notes, “emotional, autobiographical storytelling can be a path to truly owning your story.” And by sharing that story, you can use your experience as a way to help others in a similar situation.
“But wait a second, —I’m no Hemingway.
I don’t even know where to start.”
Most people are intimidated by the prospect of writing a report, much less a lengthy biography. Reaching out to a ghostwriting service can help you kick start the process with a qualified writer who will help you manage the entire process for you.
Ready to enjoy the benefits of writing your biography? Contact us for a free consultation, or you can sign up for the Story Terrace newsletter for more information.

5 incredible book covers that will inspire you to create your own
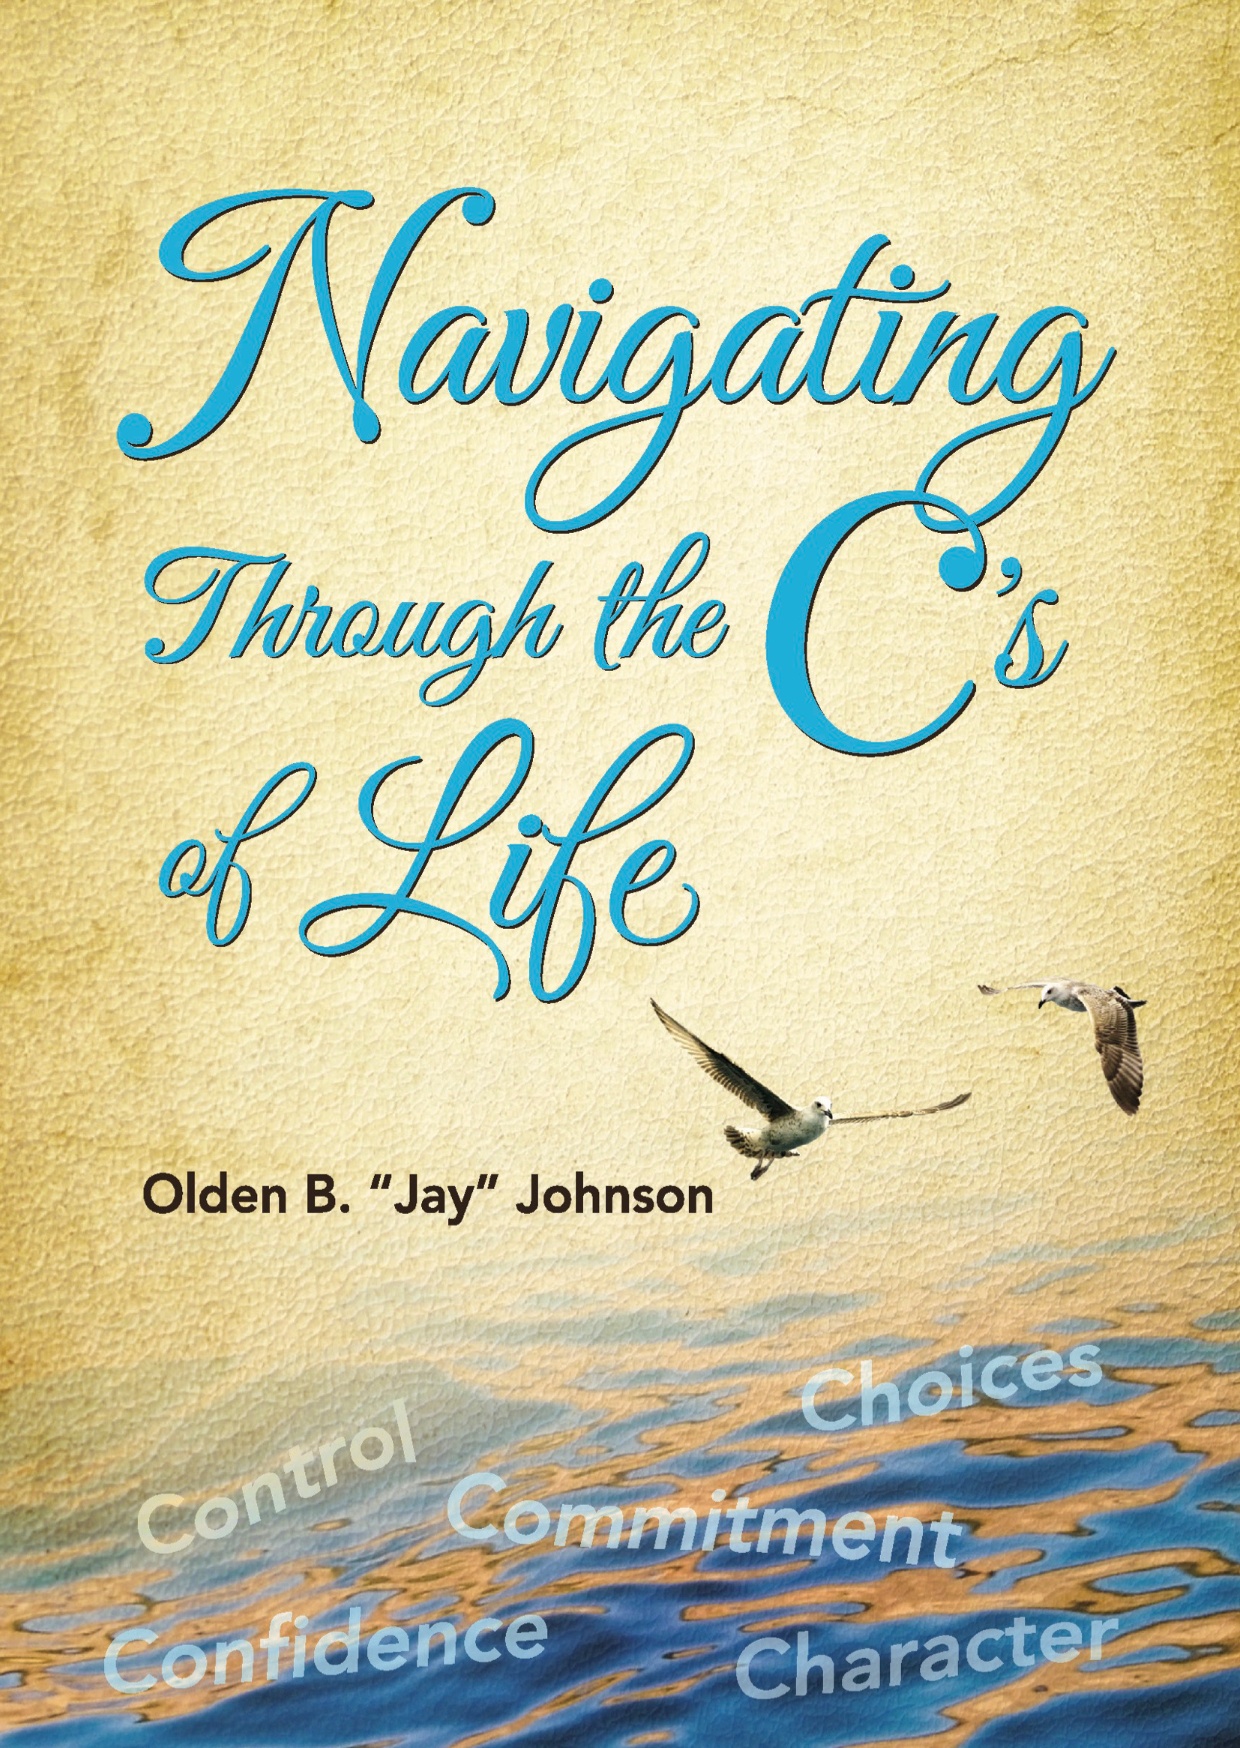
When you write over 500 life stories, you learn quite a lot about life. That wisdom is captured in an incredible way through the life quotes our customers have chosen to feature on the back covers of their books. Have a look at these amazing covers and 'blurbs'. What quote would you choose for your own back cover?
<div style="max-width: 600px; margin-left: auto; margin-right: auto; padding-left: 10px; padding-right: 10px; text-align: left;">
<p style="text-align: left;">When you write over 500 life stories, you learn quite a lot about life. That wisdom is captured in an incredible way through the quotes our customers have chosen to feature on the back covers of their books. <span style="background-color: transparent;">Have a look at these amazing covers and 'blurbs'. What quote would you choose for your own back cover?</span><span style="text-align: center; background-color: transparent;"> </span></p>
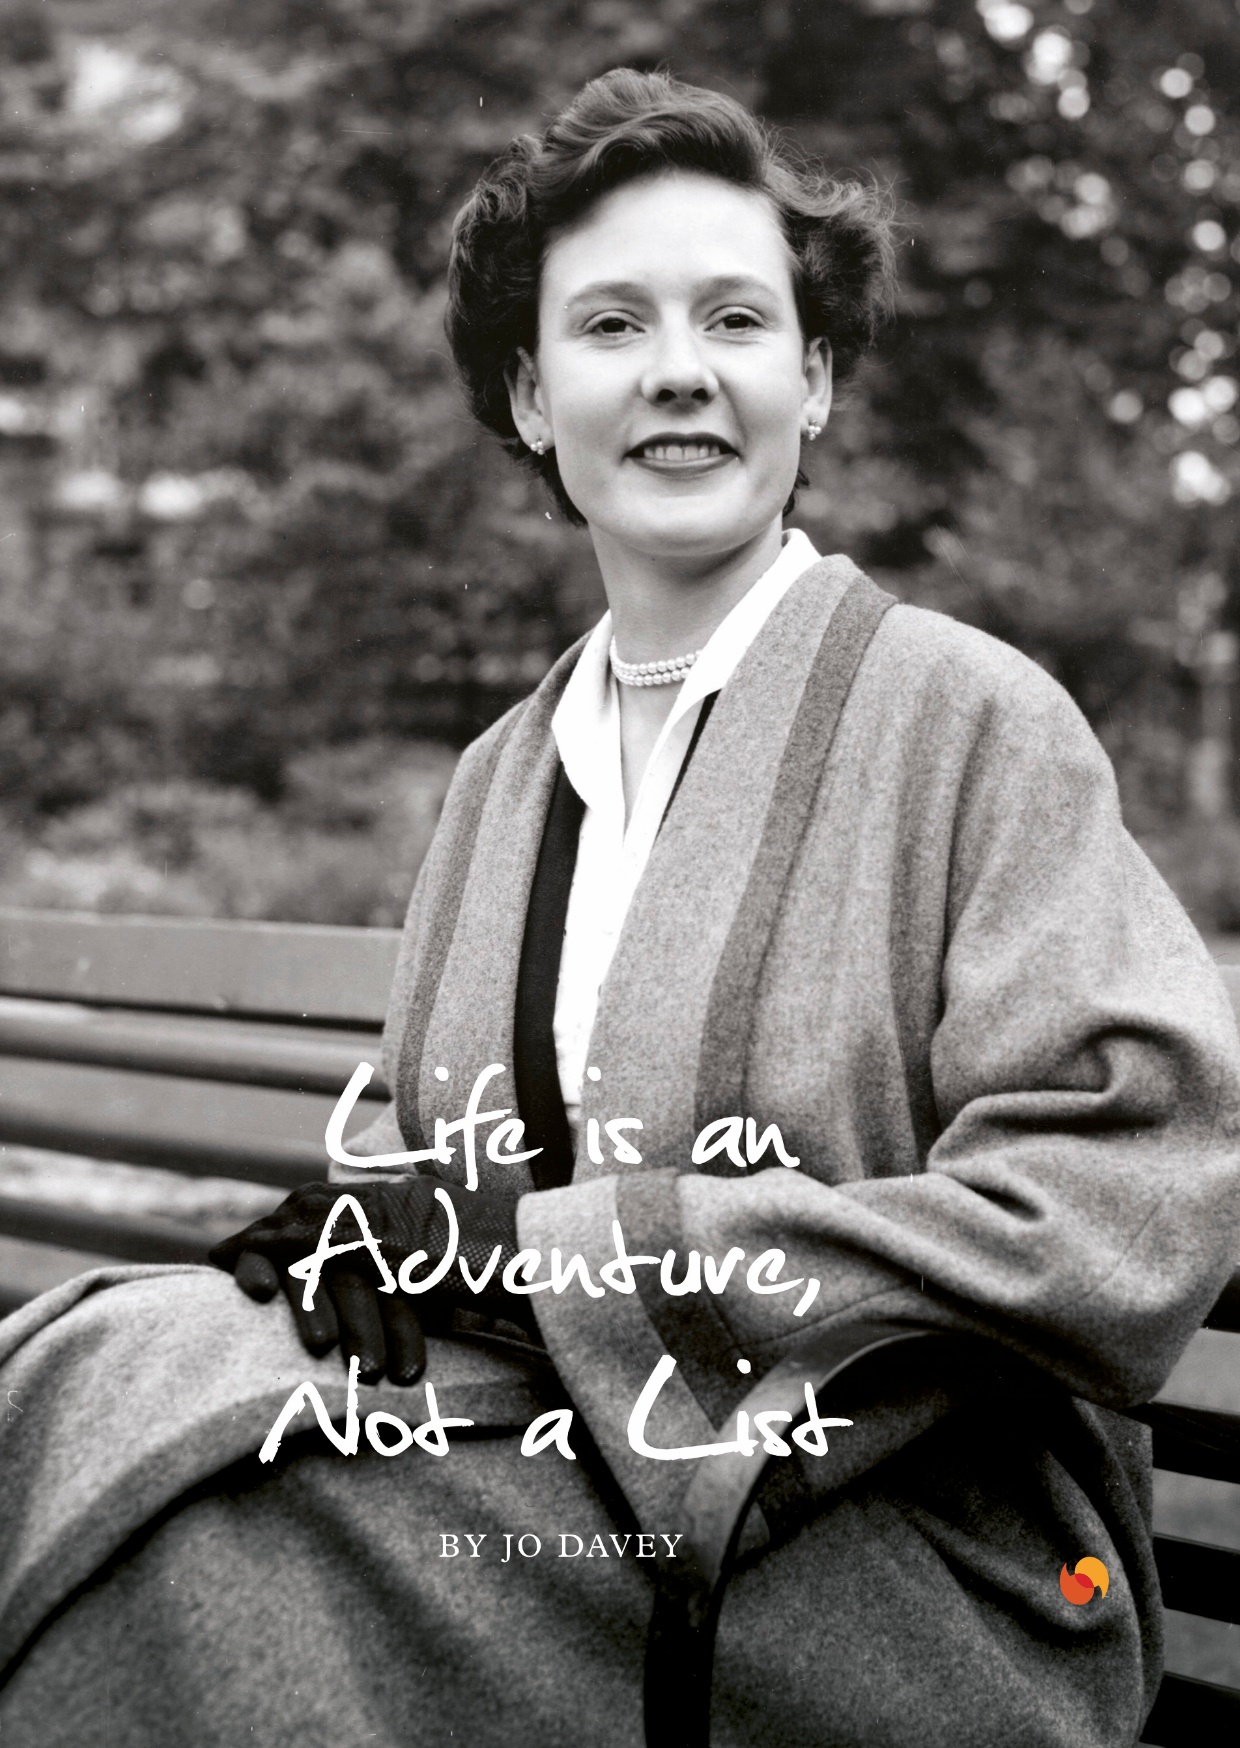
<center><strong style="font-size: 36px; text-align: left;"><span style="color: inherit; font-size: inherit; background-color: transparent; text-align: left;">Olden B. "Jay" Johnson</span></strong></center><center><strong style="text-align: left;">Navigating Through the C's of Life</strong></center><center></center><center><em style="text-align: left;"> </em></center><img src="https://cdn2.hubspot.net/hubfs/3921157/Jay Johnson.jpg" alt="Jay Johnson" width="350" align="center" style="font-size: inherit; caret-color: #000000; color: #000000; font-family: -webkit-standard; width: 350px; max-width: 300px; margin: 0px auto; display: block;"><center></center><center></center><center></center><center></center><center></center><center></center><center></center><br><center><em style="text-align: left;">"Let’s be frank: no one says to someone they want to encourage, “Be average!” Nor should they. Throughout <span style="color: inherit; font-size: inherit; background-color: transparent; text-align: left;">history, people the world over are told and retold stories of the greats that have gone above and beyond, challenging the status quo along the way, and as a result, have made a tremendous difference. And while there’s no one-size- fits-all model for how to go big, it is also true that you won’t get there by striving t</span></em><em style="text-align: left;"><span style="color: inherit; font-size: inherit; background-color: transparent; text-align: left;">o be average or settling for the bare minimum. You have to reach higher. </span><span style="color: inherit; font-size: inherit; background-color: transparent; text-align: left;">You have to go big or go home!"</span></em></center><center><span style="color: inherit; font-size: inherit; background-color: transparent; text-align: left;"></span></center><center><span style="color: inherit; font-size: inherit; background-color: transparent; text-align: left;"></span></center><center><span style="color: inherit; font-size: inherit; background-color: transparent; text-align: left;"></span></center><center><span style="color: inherit; font-size: inherit; background-color: transparent; text-align: left;"></span></center><center><span style="color: inherit; font-size: inherit; background-color: transparent; text-align: left;"> </span></center><center><span style="font-size: 36px; font-weight: bold; background-color: transparent; text-align: left;">Jo Davey</span></center><center><span style="font-weight: bold; background-color: transparent; text-align: left;">Life is an Adventure, Not a List</span></center><br><center><span style="font-weight: bold; background-color: transparent; text-align: left;"></span></center><center><span style="font-weight: bold; background-color: transparent; text-align: left;"></span></center><center><span style="font-weight: bold; background-color: transparent; text-align: left;"></span></center><center><span style="font-weight: bold; background-color: transparent; text-align: left;"></span></center><center><span style="font-weight: bold; background-color: transparent; text-align: left;"></span></center><img src="https://cdn2.hubspot.net/hubfs/3921157/jo davey.jpg" alt="jo davey" width="350" align="center" style="width: 350px; max-width: 300px; margin: 0px auto; display: block;"><br><center></center><center></center><center></center><center></center><center></center><center></center><center></center><center><em style="text-align: left;">"When I was young, the attitude to life was “Get on with it” and I try. </em></center><center><em style="text-align: left;">I live by the motto, “Do unto others as you <span style="color: inherit; font-size: inherit; background-color: transparent; text-align: left;">would have them do unto you,” and I feel very strongly about equality – especially equal work for equal pay, because for </span><span style="color: inherit; font-size: inherit; background-color: transparent; text-align: left;">years I didn’t get it. </span></em></center><center><em style="text-align: left;"><span style="color: inherit; font-size: inherit; background-color: transparent; text-align: left;">I also try not to be good!</span></em><span style="background-color: transparent; text-align: left;"> "</span><span style="text-align: left; background-color: transparent;"> </span></center><center><span style="text-align: left; background-color: transparent;"></span></center><center><span style="text-align: left; background-color: transparent;"></span></center><center><span style="text-align: left; background-color: transparent;"></span></center><center><span style="text-align: left; background-color: transparent;"></span></center><center><span style="text-align: left; background-color: transparent;"></span></center><center><span style="color: inherit; font-size: inherit; background-color: transparent; text-align: left;"></span></center><center><span style="color: inherit; font-size: inherit; background-color: transparent; text-align: left;"></span></center><center><br><strong style="font-size: 36px; text-align: left;"><span style="color: inherit; font-size: inherit; background-color: transparent; text-align: left;">German Lam</span></strong></center><center><span style="font-weight: bold; text-align: left; background-color: transparent;">The Dragon Turns </span><span style="font-weight: bold; text-align: left; background-color: transparent;">to Water</span></center><br><center><span style="font-weight: bold; text-align: left; background-color: transparent;"></span></center><center><span style="font-weight: bold; text-align: left; background-color: transparent;"></span></center><center><span style="font-weight: bold; text-align: left; background-color: transparent;"></span></center><img src="https://cdn2.hubspot.net/hubfs/3921157/German Lam.jpg" alt="German Lam" width="350" align="center" style="width: 350px; max-width: 300px; margin: 0px auto; display: block;"></div>
<!--more--><div style="max-width: 600px; margin-left: auto; margin-right: auto; padding-left: 10px; padding-right: 10px; text-align: left;"> </div>
<div style="max-width: 600px; margin-left: auto; margin-right: auto; padding-left: 10px; padding-right: 10px; text-align: center;"><em style="text-align: left;">"<span style="color: inherit; font-size: inherit; background-color: transparent; text-align: left;">I was born in the Chinese year of the dragon. Dragons are fierce and hard; they are the king of the Chinese Astrological signs. </span><span style="color: inherit; font-size: inherit; background-color: transparent; text-align: left;">But you cannot be a dragon all of the time. Sometimes you have to be soft and flow like fluid. To know when to be which is the key to my own personal philosophy called the freestyle lifestyle.</span><span style="color: inherit; font-size: inherit; background-color: transparent;">"</span> </em></div>
<div style="max-width: 600px; margin-left: auto; margin-right: auto; padding-left: 10px; padding-right: 10px; text-align: left;"> </div>
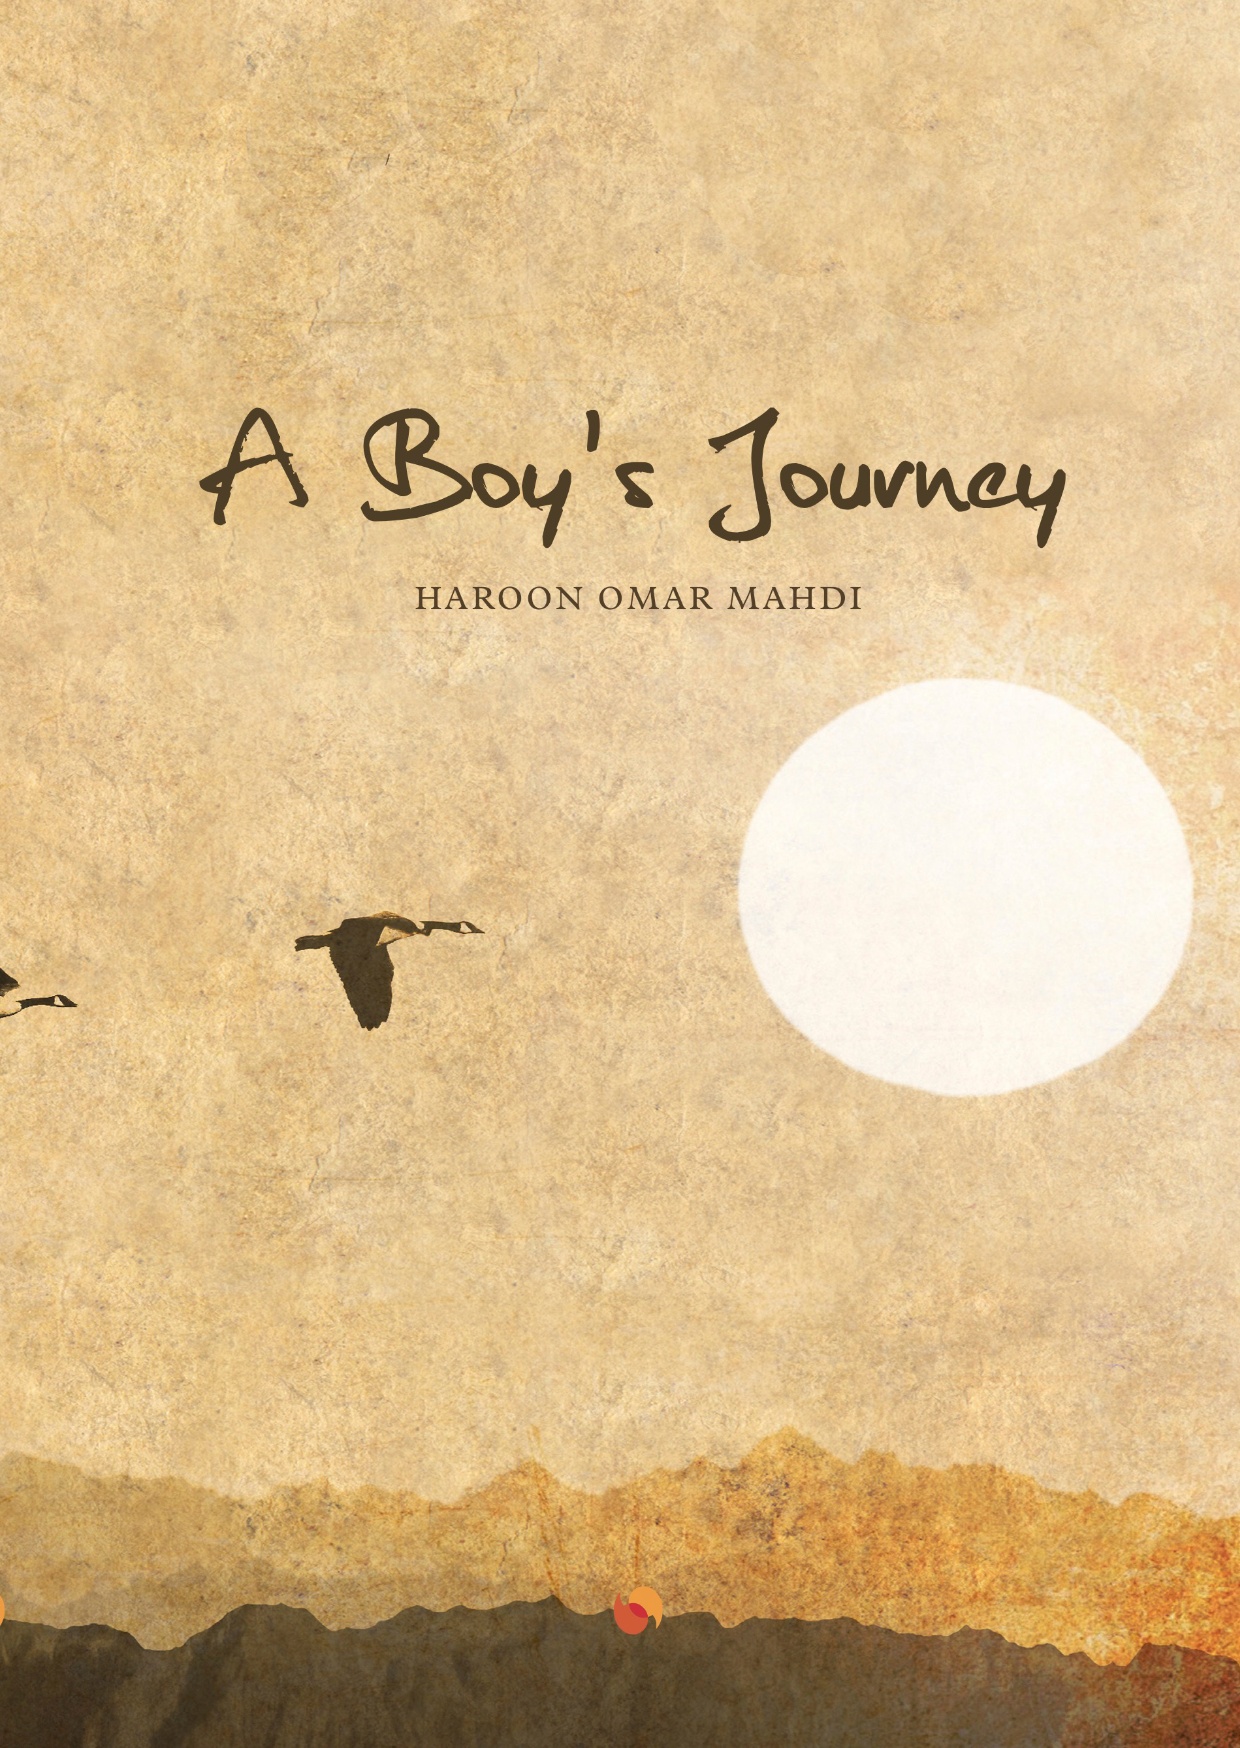
<div style="max-width: 600px; margin-left: auto; margin-right: auto; padding-left: 10px; padding-right: 10px; text-align: center;"><span style="color: inherit; font-size: inherit; background-color: transparent;"><strong style="font-size: 36px; text-align: center;"><span style="color: inherit; font-size: inherit; background-color: transparent; text-align: left;">Haroon Omar Mahdi</span></strong></span></div>
<div style="max-width: 600px; margin-left: auto; margin-right: auto; padding-left: 10px; padding-right: 10px; text-align: center;"><strong>A Boy's Journey</strong></div>
<div style="max-width: 600px; margin-left: auto; margin-right: auto; padding-left: 10px; padding-right: 10px; text-align: center;"> </div>
<div style="max-width: 600px; margin-left: auto; margin-right: auto; padding-left: 10px; padding-right: 10px; text-align: center;"><em style="text-align: left;"> <img src="https://cdn2.hubspot.net/hubfs/3921157/haroon.jpg" alt="haroon" width="350" style="width: 350px; max-width: 300px; margin: 0px auto; display: block;"> </em></div>
<div style="max-width: 600px; margin-left: auto; margin-right: auto; padding-left: 10px; padding-right: 10px; text-align: center;"> </div>
<div style="max-width: 600px; margin-left: auto; margin-right: auto; padding-left: 10px; padding-right: 10px; text-align: center;"><em style="text-align: left;"><em style="text-align: left;">"<span style="color: inherit; font-size: inherit; background-color: transparent; text-align: left;">A friend came to pick me up and drive me to his place in Islamabad, where I would have to go into hiding until my family </span><span style="color: inherit; font-size: inherit; background-color: transparent; text-align: left;">worked out how to get me out of the country. </span><span style="color: inherit; font-size: inherit; background-color: transparent; text-align: left;">There was no time to say goodbye to my family properly, or to collect up my precious medical books. I stuffed a couple of items of clothing into a bag and left the house. </span><span style="color: inherit; font-size: inherit; background-color: transparent; text-align: left;">From now on I was on my own, and I was running for my life." </span></em></em></div>
<div style="max-width: 600px; margin-left: auto; margin-right: auto; padding-left: 10px; padding-right: 10px; text-align: center;"> </div>
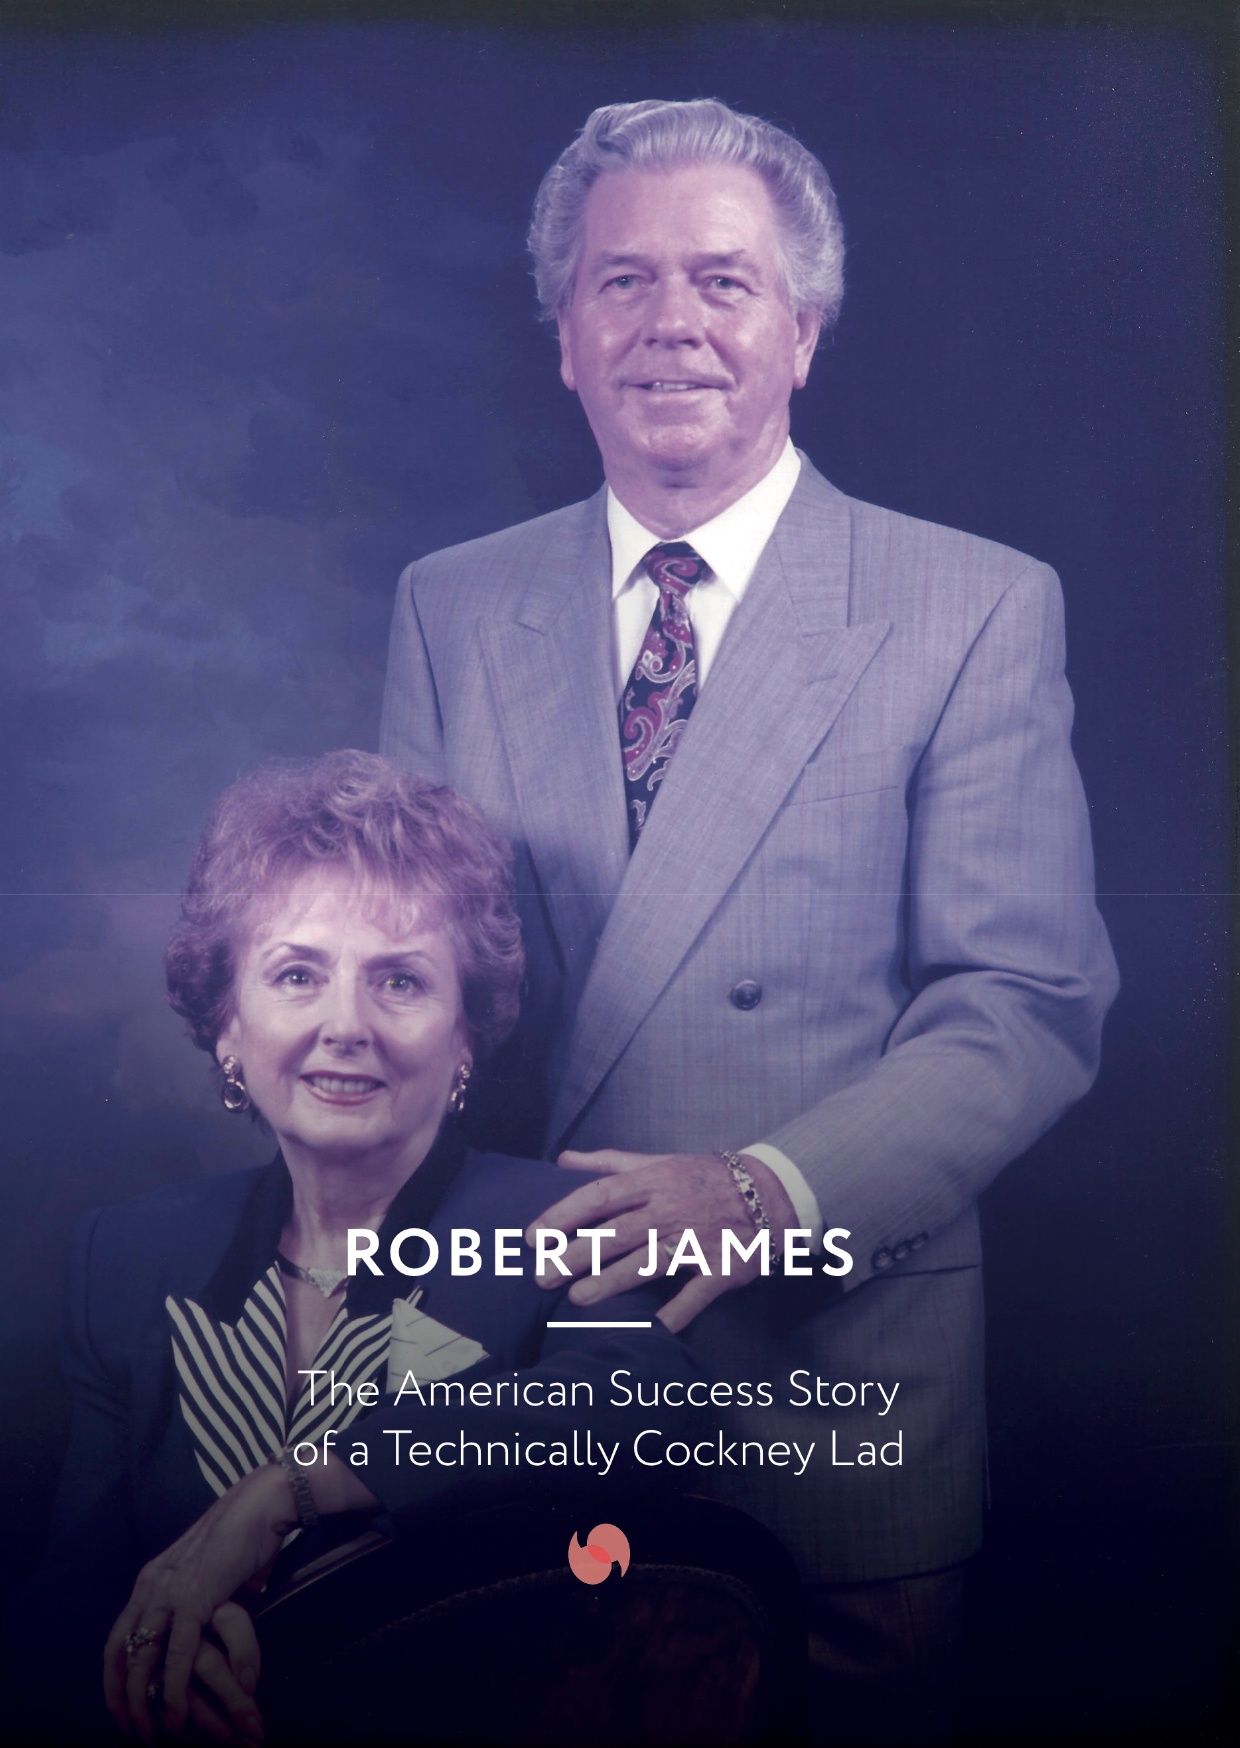
<div style="max-width: 600px; margin-left: auto; margin-right: auto; padding-left: 10px; padding-right: 10px; text-align: center;"><strong style="font-size: 36px; text-align: left;"><span style="color: inherit; font-size: inherit; background-color: transparent; text-align: left;">Robert James</span></strong><span style="background-color: transparent; text-align: left;"> </span></div>
<div style="max-width: 600px; margin-left: auto; margin-right: auto; padding-left: 10px; padding-right: 10px; text-align: center;"><strong style="text-align: left;">The American Success Story of a Technically Cockney Lad</strong></div>
<div style="max-width: 600px; margin-left: auto; margin-right: auto; padding-left: 10px; padding-right: 10px; text-align: center;"> </div>
<div style="max-width: 600px; margin-left: auto; margin-right: auto; padding-left: 10px; padding-right: 10px; text-align: center;"><em style="text-align: left;"> <img src="https://cdn2.hubspot.net/hubfs/3921157/robert James.jpg" alt="robert James" width="350" align="center" style="text-align: left; width: 350px; max-width: 300px; margin: 0px auto; display: block;"></em></div>
<div style="max-width: 600px; margin-left: auto; margin-right: auto; padding-left: 10px; padding-right: 10px; text-align: center;"> </div>
<div style="max-width: 600px; margin-left: auto; margin-right: auto; padding-left: 10px; padding-right: 10px; text-align: center;"><em style="text-align: left;"> <em style="text-align: left;">"<span style="color: inherit; font-size: inherit; background-color: transparent; text-align: left;">In 1990, when I was 65, I retired from full-time work and had no real idea of what I was going to do other than enjoy myself and spend more time with my children. </span><span style="color: inherit; font-size: inherit; background-color: transparent; text-align: left;">When </span><span style="color: inherit; font-size: inherit; background-color: transparent; text-align: left;">I retired from the packaging business, I had operations in the U.K., France, Germany, Italy, and four factories in the U.S. But even though I retired, I started four more companies, one of which was very successful. It is important to me to keep my brain active, no matter what age I am. If you don’t keep the mind going ...well, I do </span><span style="color: inherit; font-size: inherit; background-color: transparent; text-align: left;">not want to find out what would happen.</span><span style="color: inherit; font-size: inherit; background-color: transparent;">"</span></em><span style="color: inherit; font-size: inherit; background-color: transparent; text-align: left;"> </span><span style="text-align: left; background-color: transparent;"> </span></em></div>
<div style="max-width: 600px; margin-left: auto; margin-right: auto; padding-left: 10px; padding-right: 10px; text-align: center;"> </div>

The Ultimate Guide to Writing a Memoir
For the ultimate guide to writing a memoir - look no further!
Why should you read this guide?
- Use our free resources and templates to plan your memoir: gather your memories and figure out the right structure
- Learn how to develop a writing habit, overcome writer's block, and develop your own unique style
- Get inside information on book-production, from editing and proofreading to design and printing
Chapter 1: Organising your memories
In this chapter, we share two free resources to recall and organise your memories: a set of 65 Memory Prompts we use with our customers to kick-start the process, and a Timeline Template you can then use to organise all the information.
Chapter 2: Structure your story
In this chapter, you’ll learn five different approaches professional authors take to structuring their stories, so you can choose the one most suited to your book.
Chapter 3: Writing (the nitty gritty!)
Everything’s planned. Now you’ve actually got to start writing. But how will you find the time in your busy schedule? In this chapter, you’ll learn how to create a habit out of writing, as well as developing your own unique writing style.
Chapter 4: Overcoming writer’s block
It happens even to the best of us. In Chapter 4, learn how to beat writer’s block, so you're fully equipped to fight it off when it comes along.
Chapter 5: Editing and proofreading
Chances are, you don’t know the difference between editing and proofreading. In this chapter, you'll learn how to edit and proofread your life story, step-by-step.
Chapter 6: How to digitise your photos
There are four different ways you can convert your old photographs into digital copies for your pages. In this chapter, you’ll learn the advantages and disadvantages of each method.
Chapter 7: Designing and printing your book
Chapter 7 reveals all the best design practices to make your book look truly beautiful.
Chapter 8: How to make your book cover stand out
Make potential readers stop in their tracks! From bold and eccentric, to romantic pastels, create an eye-catching book cover with these ideas.
Chapter 9: An overview
A quick recap of Chapters 1-8 with all the most valuable bits of information you need. We’ll also give you more of an insight into how we can help!
Start at the beginning
Read Chapter 1: Organising Your Memories

Writing (the nitty gritty!)
Writing a memoir takes time. In this chapter, you’ll learn how to create a writing habit, as well as learn techniques to improve your writing style.
This is the third part of our 'Ultimate Guide to Writing a Memoir.'To access the rest of the guide, click here.
Everything’s in place - you know what you're going to include - and you’re ready to start writing. But hang on, where do you actually begin? You'll need to start by setting aside the time to create a habit out of writing.
Once you've established when you're going to write, you need to decide how you're going to write. Your memoir needs to sound like you're telling the story, so developing your own unique style is an important part of the process.
Creating a habit
1. Identify the times you could be writing
Unless you’re living a life of leisure, you’re going to have to fit writing your story around your existing commitments. Determining when you have free time, and how you spend it, is the first step in finding the time to write your story. Once you know what you are doing when you could be writing, you can make a plan to sit down and get started.
2. Set S.M.A.R.T. goals for your writing
We all have goals, but often they’re vague and we have no idea how we are actually going to achieve them. To create a writing habit, setting S.M.A.R.T. goals provides structure and trackability with clear milestones and estimations of the goal’s attainability. For your goal to be S.M.A.R.T. it has to fit into each category: Specific, Measurable, Attainable, Relevant and Timely.
Specific: what exactly do you want to achieve? Where? How? When? Why? The more specific your goal, the greater the chances of achieving it. For example, you want to write your life story. This is vague. More specifically, you want to write for half an hour everyday so that in one year you’ve finished the first draft of your life story.
Measurable: break down your goal into elements that you can measure. This way, you can track your progress and assess whether or not you’re on target to achieve your goal. For example, set a daily word count and reach that number everyday you write. Mark these days on a calendar so you can clearly see how well you’re doing.
Attainable: is your goal attainable? Can you actually do it? Committing yourself to writing everyday may not be realistic if you’re already struggling to find enough hours in the day. That doesn’t mean it’s impossible! Plan smartly and find a way to make your goal attainable.
Relevant: do you actually want to do this? Are you committed and willing to put the effort in? Are you the right person for the job? Answering these questions will help you to establish whether or not your goal is to write your life story yourself, or have your life story written by a professional ghostwriter. This will save you a lot of time and effort, and you still end up with a beautiful, hardbound book of your life.
Time-bound: is there an end-date for your goal? Even if you don’t know exactly when you will finish your book, setting a deadline for each goal keeps you motivated to get the job done, and helps you to avoid procrastination. Remember to keep your timeline realistic. You don’t want to rush your project.
3. Find your time to write - and stick to it
It takes three to four weeks to turn a new activity into a habit. Schedule your writing and stick to it for just three weeks and you’ll create a writing habit with ease.
The best thing you can do to form a habit, is pick a time of day and stick to it. If you consider yourself a morning person, why not wake up ten minutes earlier and start your day productively by writing? If you’re a night owl, try writing before you settle down for bed.
There is always a perfect time to write for every person - you just have to find what works for you, and use it as much as possible.
4. Do the small things that drive big results
The Pareto principle, also known as the 80/20 rule, is named after Vilfredo Pareto, an Italian economist. According to Pareto, 80% of our output is driven by just 20% of our efforts. This means that we spend the majority of our time generating just a small fraction of our results.
Is this true for you? Try to find out. Do you slow down after you write 1,000 words? Do you spend too much time editing and reworking your writing without tangible results? Try to get these bad habits under control - and when you know you’ve gone beyond your '20%', just stop. Whether you set a short word limit, or a brief time frame for writing (e.g. 15 minutes), use Pareto’s principle to focus your energy.
5. Reward yourself
Writing in your spare time doesn’t mean you have to give up your other hobbies. Finding the time to write could be as little as ten minutes in a day. Your other pastimes can then become a reward. For example, if you decide that you want to substitute watching television with writing, try saving up your favourite box set to watch when you reach a milestone in your S.M.A.R.T. goals.

Developing Your Style
Write how you would talk.
You’re already an expert at communicating in your own style - when you speak. It’s your story. It should be written in your voice. Read over what you’ve written, and ask yourself: is this how you would talk? Would you actually say that? If you aren’t sure, ask someone. And if the answer is no, ask yourself: why?
Get feedback to make sure your writing 'sounds like you'.
Know who you're talking to.
Who are you writing your book for? Focusing your narrative with a target audience in mind will help to develop your style. Try thinking of a specific person - whether it be a family member, friend, or colleague. Think of someone that you’d want to read your book, and write with them in mind. It will change your tone.
Write a little, a lot.
If you’re struggling to develop a unique style - which doesn’t necessarily come to you overnight - writing a little, often can help. Just getting into the habit of writing down your thoughts, however they present themselves, can help to develop your writing style. As the saying goes: practice makes perfect. Write a small amount every day to perfect your technique.
Write what you would read.
When you read over your words, are you excited or bored? If it’s the latter, it’s likely you’re not writing as yourself. If what you’re writing about interests you, you’ll be able to write it in such a way that - even at the very least - you will find engaging.
Find your favourite books and ask yourself what it is about them that you love.
Don't just mimic your favorite writers.
Use your favourite writers as inspiration, by all means. But don’t imitate their style, wholesale. Copying someone else’s style will only produce second-rate work. You don’t want your story to be a pastiche. Think like a curator in an art gallery - pick out the aspects of their writing that most appeal to you and incorporate them in your own way.
Read Chapter 4: Overcoming Writer's Block

How To Overcome Writer's Block
Overcome writer's block with these helpful tips on how to get inspired again.
This is the fourth part of our 'Ultimate Guide to Writing a Memoir.'To access the rest of the guide, click here.
What is writer's block?
Writer’s block can affect anyone - it’s a popular name for that moment when you are in the midst of a project, but you lack the inspiration or drive to write another word.
What actually causes writer's block?
Common causes of writer’s block are timing, fear, and perfectionism. Any one of these causes can 'block' a writer.
Timing: There are certain times of day, or days in a week, that you just don’t want to write. You’re too tired. You’re too busy. That’s okay.
Fear: People are often scared to put their ideas out there, open to the criticism of others.
Perfectionism: Some people want everything to be perfect in their minds before putting pen to paper. This just isn’t going to happen, so the writing never begins.


How to overcome writer's block
We’ve found some great ways to help overcome writer’s block and get you back on track.
Embrace your concerns: Being afraid is okay. It’s justified. Accept and embrace your fear and it won’t overwhelm you or put you off. Your first draft won’t be perfect. Remember that you can go back and edit when it’s done, and you’ll be able to keep writing.
Do something else: Write a poem, draw or paint a picture. Doing something different but equally creative will help to get those creative juices flowing again before you go back to writing.
Read: Reading can help you to remember why you’re writing your story in the first place. Books will help to inspire you and give you some encouragement to keep going.
Change your environment: Is your desk chair comfortable? Well lit? Would writing be more exciting if you change where you do it? Why not try going to a nearby coffee shop? Find a space you’ll look forward to being in and you’ll look forward to writing too.
Free write: Literally write anything. Spend 15 minutes a day just writing. Ignore punctuation, and just go. Set a timer and write whatever comes to mind. Either do this for a week or so and then return to your writing project, or free write for 15 minutes and then go back to it straight away. Who knows what you’ll come up with!
The foolproof method
If none of the above methods seem to be working, there is one way to overcome writer’s block that works. The foolproof method is: just write.
If you just focus on one sentence, and then the next, and keep going, your inspiration will come back. You can write. The first draft doesn’t have to be the best draft. It just has to be there. So write.
Read Chapter 5: Editing and Proofreading

Editing and Proofreading Your Book
After you've written your memoir, you'll need to start editing and proofreading. Find out how to do both here.
<p style="background: #efefef; border-radius: 25px; padding: 20px; font-size: 18px; text-align: center;"><i>This is the fifth part of our 'Ultimate Guide to Writing a Memoir.' <br><span style="text-decoration: underline;"><span style="color: #f06d66;"><strong><a href="/uk/writing-a-memoir" style="color: #f06d66; text-decoration: underline;">To access the rest of the guide, click here.</a></strong></span></span></i></p>
<p style="margin-bottom: 0;">Congratulations! You’ve written your book. All that’s left to do is make sure it all makes sense - and you’re ready to print. But where do you start? To many people, editing and proofreading are the same thing. This is a common misconception:</p>
<p><span style="font-weight: 400;"><strong>Editing</strong> comes first, after you’ve written your first draft. Editing is all about the actual content of the writing, and involves making sure your ideas are expressed logically, in a clear and coherent narrative. This article will tell you exactly how to edit your book.</span></p>
<p><span style="font-weight: 400;"><strong>Proofreading</strong> comes after the editing process, and is less about content, more about language. It involves checking over spelling, punctuation and grammatical errors, as well as format.</span></p>
<!--more-->
<p style="margin-bottom: 0;"> </p>
<h2>Before you edit:</h2>
<p><span style="font-weight: 400;">We’re sure you’ll be thrilled to hear that the first step after you’ve written your story is, actually, to do nothing at all. Take a break! It’s a good idea to have some space from your writing so that when you do revisit, you’re able to read the story with fresh eyes.</span></p>
<p><span style="font-weight: 400;">Once you’re ready, before you change a word, read through the whole story. You will have been staring at your work, likely on a computer, or weeks or months. We recommend that you change the format for this first read-through. Try changing the typeface and font size to make the words less recognisable. If you can, print the whole thing out - so you can get out of the screen, and jot down some notes without actually changing anything. This also makes the manuscript easier to read. Of course, printing out an entire biography may not be possible, and some people do prefer to read on-screen, so do whatever suits you.</span></p>
<h2>Whilst editing:</h2>
<p><span style="font-weight: 400;">In terms of the editing process, the best way to approach your project is one step at a time. Ask yourself the following questions, and don’t be alarmed if it feels like you’ve got a lot of work ahead of you - editing can involve major changes or even a complete rewrite:</span></p>
<p><span style="background-color: transparent;">Does the opening paragraph clearly indicate the purpose of the text?</span></p>
<p><span style="background-color: transparent;">Is there a clear purpose throughout the text?</span></p>
<p><span style="background-color: transparent;">Is every sentence relevant to the purpose of the text?</span></p>
<p><span style="background-color: transparent;">Does each paragraph contain one idea?</span></p>
<p><span style="background-color: transparent;">Does the text flow logically?</span></p>
<p><span style="background-color: transparent;">Have you used a varied sentence structure and vocabulary?</span></p>
<p><span style="background-color: transparent;">Have you used an appropriate tone for your reader?</span></p>
<p><span style="background-color: transparent;">Does the last paragraph satisfyingly conclude the story?</span></p>
<h2>After editing:</h2>
<p><span style="font-weight: 400;">Take a break. Let someone else do the work for you! After you’ve edited your story, find a friend or family member that you trust to read through your book. Showing someone else your work and getting feedback is an important stage of the process, because it gives you an insight into what your audience might think of your book when it’s finished. Up until now, you’ve been the only person that’s read your story, and a fresh pair of eyes could point out a fundamental error that you might have missed, or amend part of a story you remembered incorrectly.</span></p>
<p><span style="font-weight: 400;">If you aren’t sure who to ask, or you don’t feel that anyone you know is suitable, why not ask a professional?</span></p>
<img src="https://cdn2.hubspot.net/hubfs/3921157/Blog/4263326117_db65beb3c2_o.jpg" alt="Pencil poking out from a book" title="Pencil poking out from a book" width="614" caption="false" data-constrained="true" style="width: 614px; display: block; margin-left: auto; margin-right: auto;"><span style="font-weight: bold; background-color: transparent;"> </span><span style="font-weight: bold; background-color: transparent;"> </span>
<h2>Before you proofread:</h2>
<p><span style="font-weight: 400;">Have you finished editing? There’s no point in proofreading if you’re going to make further changes to the text or the structure of your book. It’s a good idea to design your book first, including photographs, layout and format, which you can find out more about in Chapter 7.</span></p>
<p><span style="font-weight: 400;">Next, establish what you’re looking for when you’re proofreading. What are your common mistakes? Make a list to stay focused when reading: spelling, punctuation and grammatical errors, as well as consistent use of language, style and formatting.</span></p>
<p><span style="font-weight: 400;">It is also advisable to take another break before you start proofreading, to distance you from the writing. Take a day, at least, to recuperate.</span></p>
<h2>Whilst proofreading:</h2>
<p><span style="font-weight: 400;">Reading out loud helps you spot errors and run-on sentences that reading silently risks missing. If you’d prefer, read from a printout, and use a blank sheet of paper to cover the lines below the one you’re reading to decrease your chances of missing mistakes. On-screen, use search functions to pick out common mistakes. For example, if you frequently confuse “it’s” and “its”, search ‘it’ to check for errors.</span></p>
<p> </p>
<p><span style="font-weight: 400;">You’ve read your story for the final time, you’ve made all the relevant changes, and everything looks perfect! What else could you possibly have left to do? </span></p>
<p> </p>
<h2 style="text-align: center;"><a href="https://blog.storyterrace.com/uk/how-to-digitise-your-photos"><strong><span style="text-decoration: underline;">Read Chapter 6: How To Digitise Your Photos</span></strong></a></h2>
How To Digitise Your Photos
Your book needs some images to break up the writing. But how will you digitise your photos from those old albums? Find out how to get the best results here.
This is the sixth part of our 'Ultimate Guide to Writing a Memoir.'
To access the rest of the guide, click here.
Want to break up your writing and add an element of visual context with old photographs? Here’s where you’ll learn how to successfully scan your images onto your computer in a quality you’ll be happy to include in your book.
There are a few different ways you can digitise your photos, each with their own set of pros and cons.
1. Don't just use your smartphone camera.
The quickest and easiest method of digitising photos is to snap your prints using your smartphone. This may be efficient, but results will be mediocre at best. Most smartphones use flash, and most photographs are glossy. This doesn’t make for a perfect match, and your images will capture the glare of the flash, or - even better - your reflection. Even if you can work around this problem, your images will not be properly cropped, may be distorted, and are likely to be low-resolution and poor quality.


2. Use a dedicated scanning app.
You can do slightly better with your smartphone, if you use an app dedicated to scanning prints. One app that stands out from the rest is Google’s free PhotoScan app. All you need to do is position your smartphone over the photograph, and the app does the rest.
You’ll see four dots appear on the image, which will inform where you position the camera for the scan. With almost as little effort as just using your smartphone’s camera, this app eliminates glare and automatically crops your image to the borders of the photograph.
Each scan takes roughly 10 seconds. However, the quality still leaves a lot to be desired, when compared to a purpose-built scanner.
3. Use a scanner.
If you have your own scanner, or you can source one from a friend or family member - great! Simply put the photographs you want to digitise through the scanner (depending on whether you’re using an auto feed or flatbed scanner) and wait whilst the images are processed. Using a scanner can be time-consuming and fiddly. Make sure there’s no dust on your photographs or the scanner bed - you don’t want that in your book!
If you want to reproduce your photographs at the same size as the original prints, you’ll need to scan at a minimum of 300 dpi. Your photos will need to be scanned at 600 dpi to print double the size, and so on. 600 dpi is recommended, otherwise they’re going to look pixelated and blurry. No matter how high quality the scan, if the image itself is blurry or lacking in detail, you may still be disappointed by the results. In this instance, you can have the photo altered in Photoshop, but there are limits. It’s also a good idea to caption your images, so readers know who is in them, and when and where they were taken.
4. Get professional help (recommended)!
If you’re pressed for time and short of patience, or if none of the alternatives are an option, there are several companies that provide photo scanning services. All you need to do is send your photos, and they’ll do the work for you - for a fee, of course!
Read Chapter 7: Designing and Printing Your Book
Now Is The Time To Share Your Story
StoryTerrace is your book production partner, including all ancillary activities from high-quality professional writing and editing to design, printing and publishing.